How to Prep Your Lawn for Hydroseeding
An old adage says that a house is only as strong as its foundation. The exact same rule applies to your lawn.
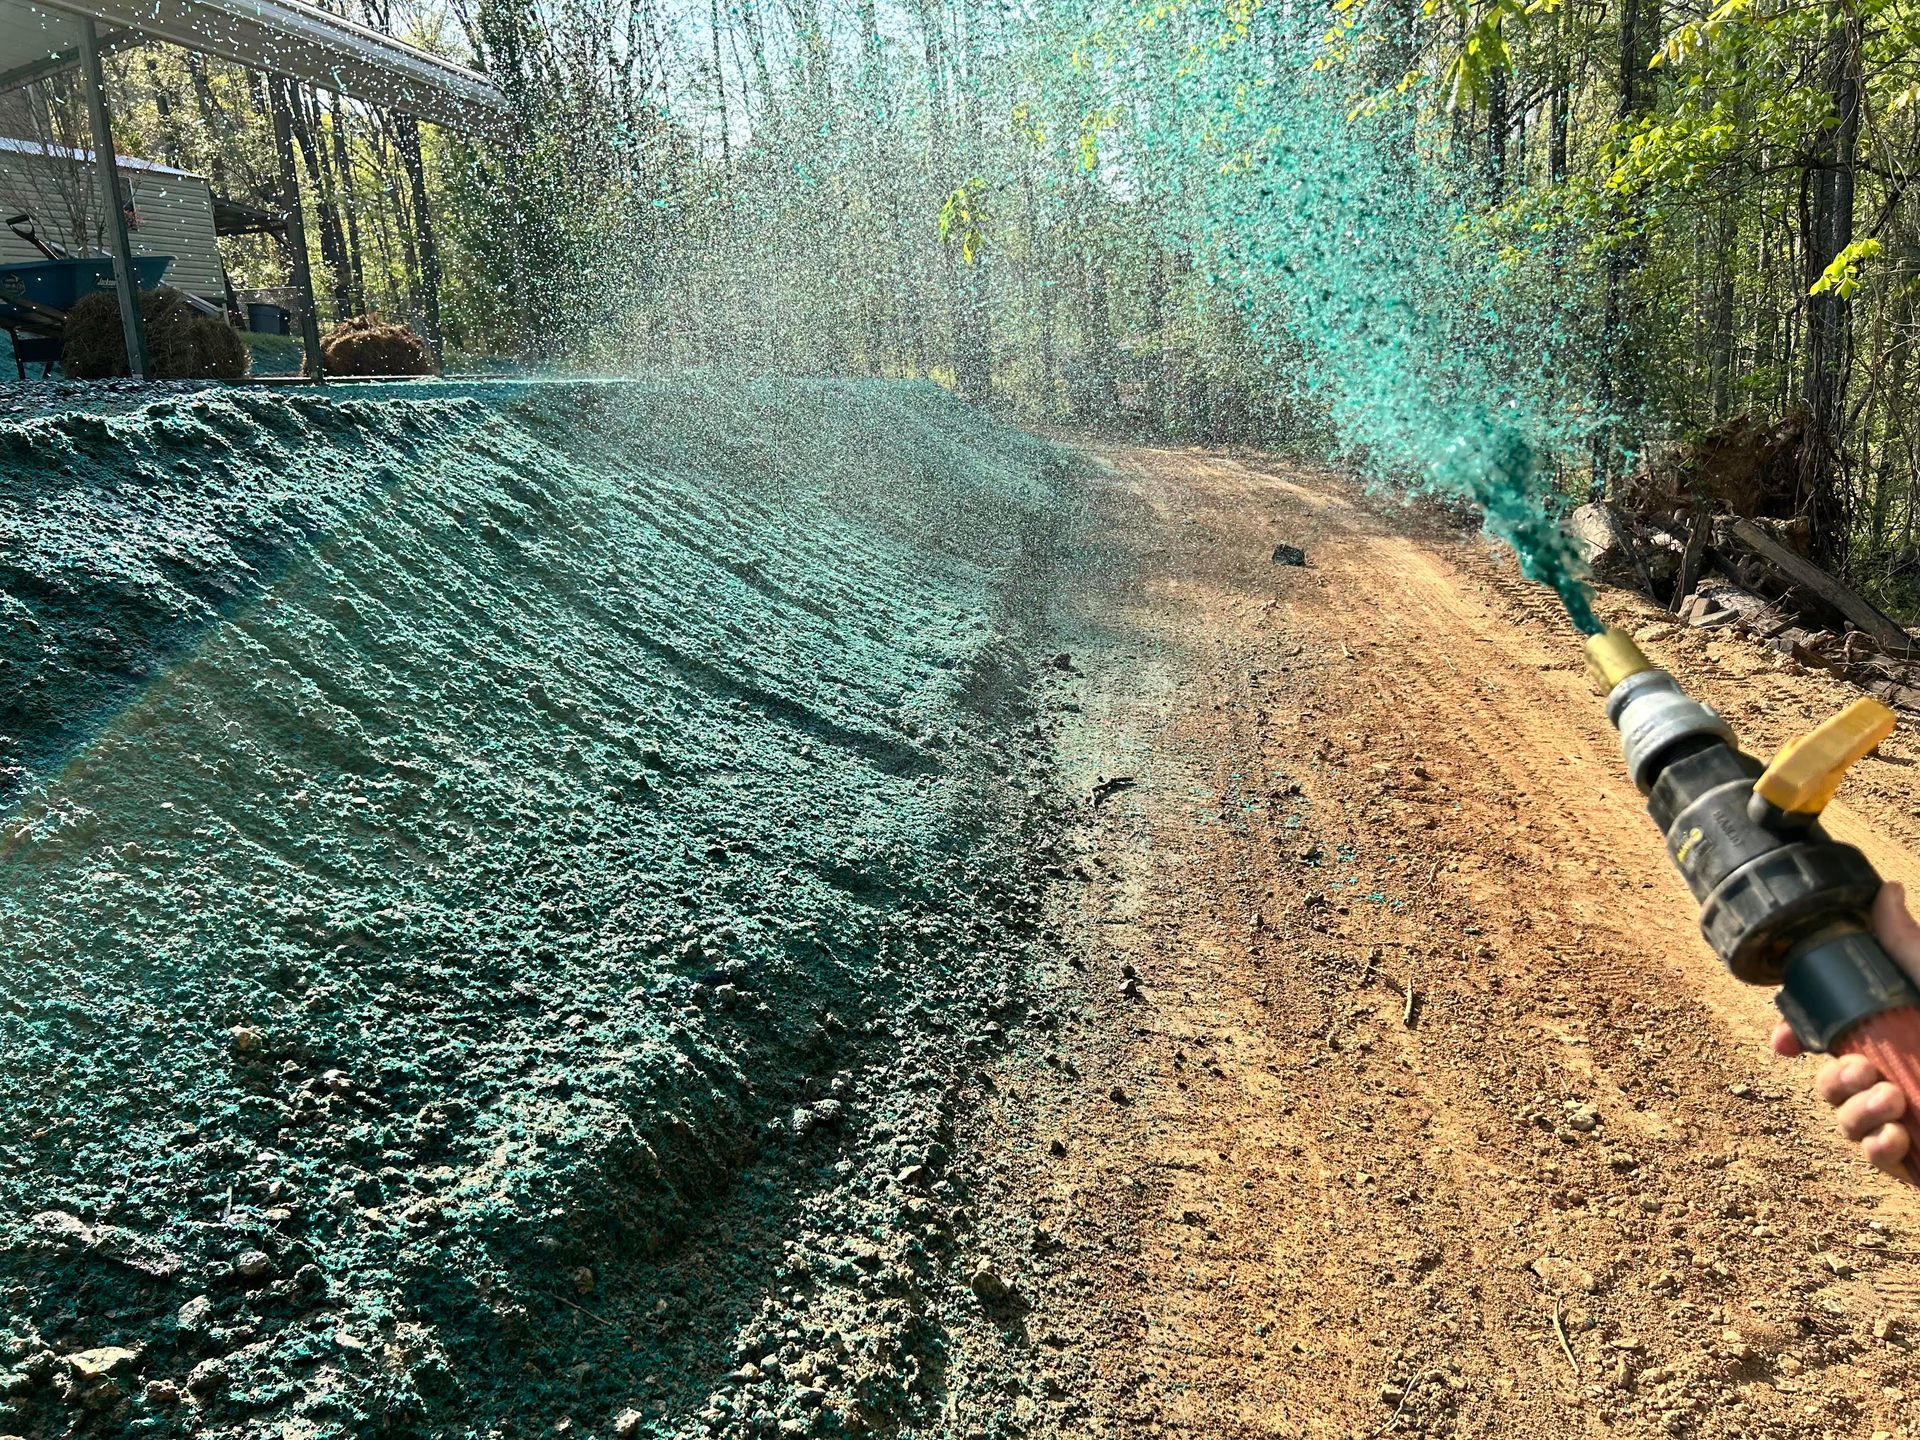
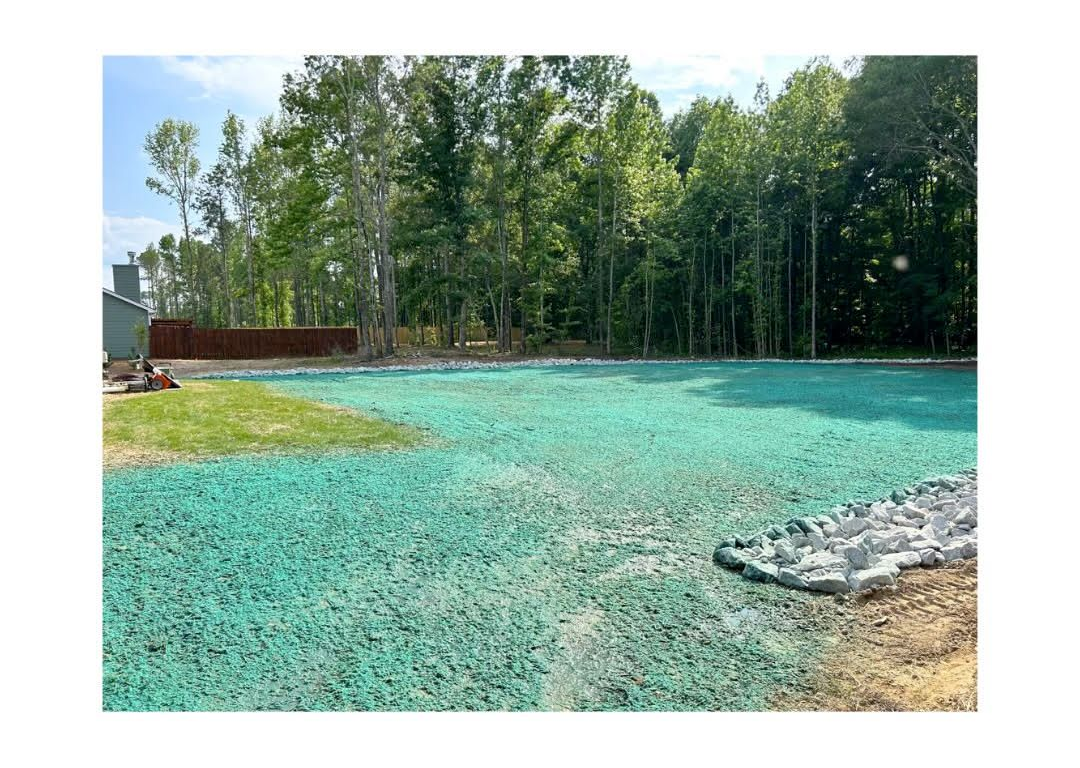
When you want a lush, velvety green yard, hydroseeding is the most efficient way to get there. But spraying that nutrient-rich slurry down is actually the second step of the process. The real magic happens before the hydroseeding truck even arrives at your property.
Proper ground preparation dictates whether your new grass seeds thrive or simply wither away. If you invest in the process without prepping the dirt, you are essentially throwing money into the wind. Let's dive into the exact steps required to get your soil ready for ultimate growth.
Clear the Canvas Completely
You cannot build a beautiful new lawn over the wreckage of an old one. Your first task is to clear out everything that will compete with your new grass blades for nutrients, water, and sunlight.
Remove all large rocks, debris, buried wood, and construction materials from the designated area. Next, address the existing vegetation. You must eliminate current weeds, crabgrass, and patches of old, dying turf.
If you leave weeds intact, they will happily steal the fertilizer from your hydroseed mix. Use a natural or targeted herbicide if necessary, and ensure the old root systems are completely dead before moving forward.
Grade the Ground for Perfect Drainage
Water should always move away from your home, never toward it. Proper grading prevents pooling water from drowning your new, fragile seeds before they can take root.
Use a heavy landscape rake or a tractor attachment to smooth out the high spots and fill in the low dips. Aim for a smooth, gradual slope away from foundations and walkways.
Taking time to level the terrain now saves you from a lifetime of bumpy mowing later. Rough grading sets the baseline, while fine grading ensures the surface is perfectly uniform and ready to accept seed.
Little Known Fact
Soil compaction is the number one silent killer of new lawns. Heavy foot traffic or construction equipment squishes the tiny air pockets in the dirt, making it nearly impossible for fragile new roots to penetrate the earth and find water.
Test and Amend Your Soil Structure
Healthy grass cannot grow in dead dirt. You need to know exactly what is happening beneath the surface before you plant.
Collect a few soil samples from around your yard and send them to a local extension office for testing. This test reveals your soil pH and nutrient deficiencies. Most turf grass thrives in a slightly acidic to neutral pH range.
If your soil is heavy clay or pure sand, you must amend it. Incorporate rich organic compost or well-rotted manure into the top few inches of earth to improve texture and microbial life.
Till the Earth Deeply
Once your soil amendments are spread across the yard, it is time to mix everything together through tilling. This process loosens the dirt and introduces crucial oxygen.
Till the soil to a depth of four to six inches. Breaking up the hard crust allows the hydroseed slurry to bond deeply with the earth rather than just sitting loosely on top of a hard shelf.
Avoid tilling when the ground is soaking wet, as this creates massive, hard clods of dirt that are incredibly difficult to break apart later. Wait until the soil is damp but crumbly.
Create the Ultimate Seedbed
After tilling, your yard will look loose and fluffy. Now you need to firm it up just enough to create a stable bed for the upcoming application.
Roll the Surface Lightly
Run a lawn roller over the tilled earth to settle the loose soil. You want the ground firm enough that a human footprint only sinks in about a quarter of an inch.
Perform the Final Rake
Use a hand rake to create tiny, shallow grooves across the entire surface. These micro-ridges give the hydroseed mixture the perfect texture to cling to, preventing erosion during initial watering.
Establish Your Irrigation Strategy
You must have a clear plan for watering before the seed hits the ground. Hydroseeded lawns require consistent moisture to activate the germination process. If you have an underground sprinkler system, test every single zone before the hydroseeding day. Check for broken nozzles, clogged lines, and dry spots in your coverage.
If you are using hoses and portable oscillators, map out where they will sit. You do not want to drag heavy hoses across a freshly sprayed, muddy lawn to fix a missed spot.
Maintenance Tips
- Water your freshly hydroseeded lawn three to four times a day for short intervals.
- Keep the mulch layer consistently damp but never allow water to puddle or run off.
- Transition to longer, less frequent watering cycles once the grass reaches three inches tall.
Trust the Regional Turf Experts
Prepping the ground takes plenty of sweat equity, but you do not have to handle the entire transformation alone. Partnering with a professional team ensures your hard work pays off with flawless execution.
As an industry leader, Elevate Hydroseeding provides custom, premium-blend slurry mixtures designed specifically for your unique soil profile and local climate conditions. Their expert technicians utilize specialized equipment to apply the perfect thickness of seed, mulch, and tackifiers, giving your yard the absolute best start possible.
Frequently Asked Questions
Can I hydroseed directly over my existing patchy lawn?
No, spraying hydroseed over existing grass or thick weeds is not recommended. The slurry must make direct contact with bare, loose soil to root properly. Spraying over existing vegetation causes the seed to get trapped in the old blades, where it dries out and dies.
How long should I wait to walk on my yard after prep and seeding?
You should keep all humans and pets off the treated area for at least three weeks. The young seedlings are incredibly fragile, and walking on the wet mulch can create bare spots and ruin the level grading you worked so hard to achieve.
What is the best hydroseeding timeframe for scheduling my soil prep?
The best hydroseeding results happen during the spring and early autumn months when temperatures are mild and natural rainfall is more frequent. Plan your intensive soil preparation to finish just one or two days before your scheduled professional application so the turned earth remains fresh and free of new weed growth.
Anthony
Anthony is a seasoned professional in the landscaping industry, boasting years of hands-on experience. As the founder of Elevate Hydroseeding, he has shaped the company's vision and success.
Throughout his career, Anthony has become a trusted figure in the world of landscaping. His passion for transforming outdoor spaces led him to establish Elevate Hydroseeding, a company dedicated to turning clients' landscaping dreams into breathtaking realities.