From Barren to Beautiful: Guide to Sod Installation
Creating a lush, green lawn can completely transform the appearance and feel of your outdoor space. For homeowners seeking a rapid and efficient lawn makeover, sod installation is an excellent choice. Sod, which comprises pre-grown grass and its underlying soil held together by roots, provides an instant lawn, making it a perfect solution for those who desire immediate results. This guide will walk you through the types of sod available, the installation process, and the essential care needed after installation to make sure that your lawn stays vibrant and healthy for years to come.
Benefits of Sod
Sod offers several advantages that make it an appealing choice for homeowners:
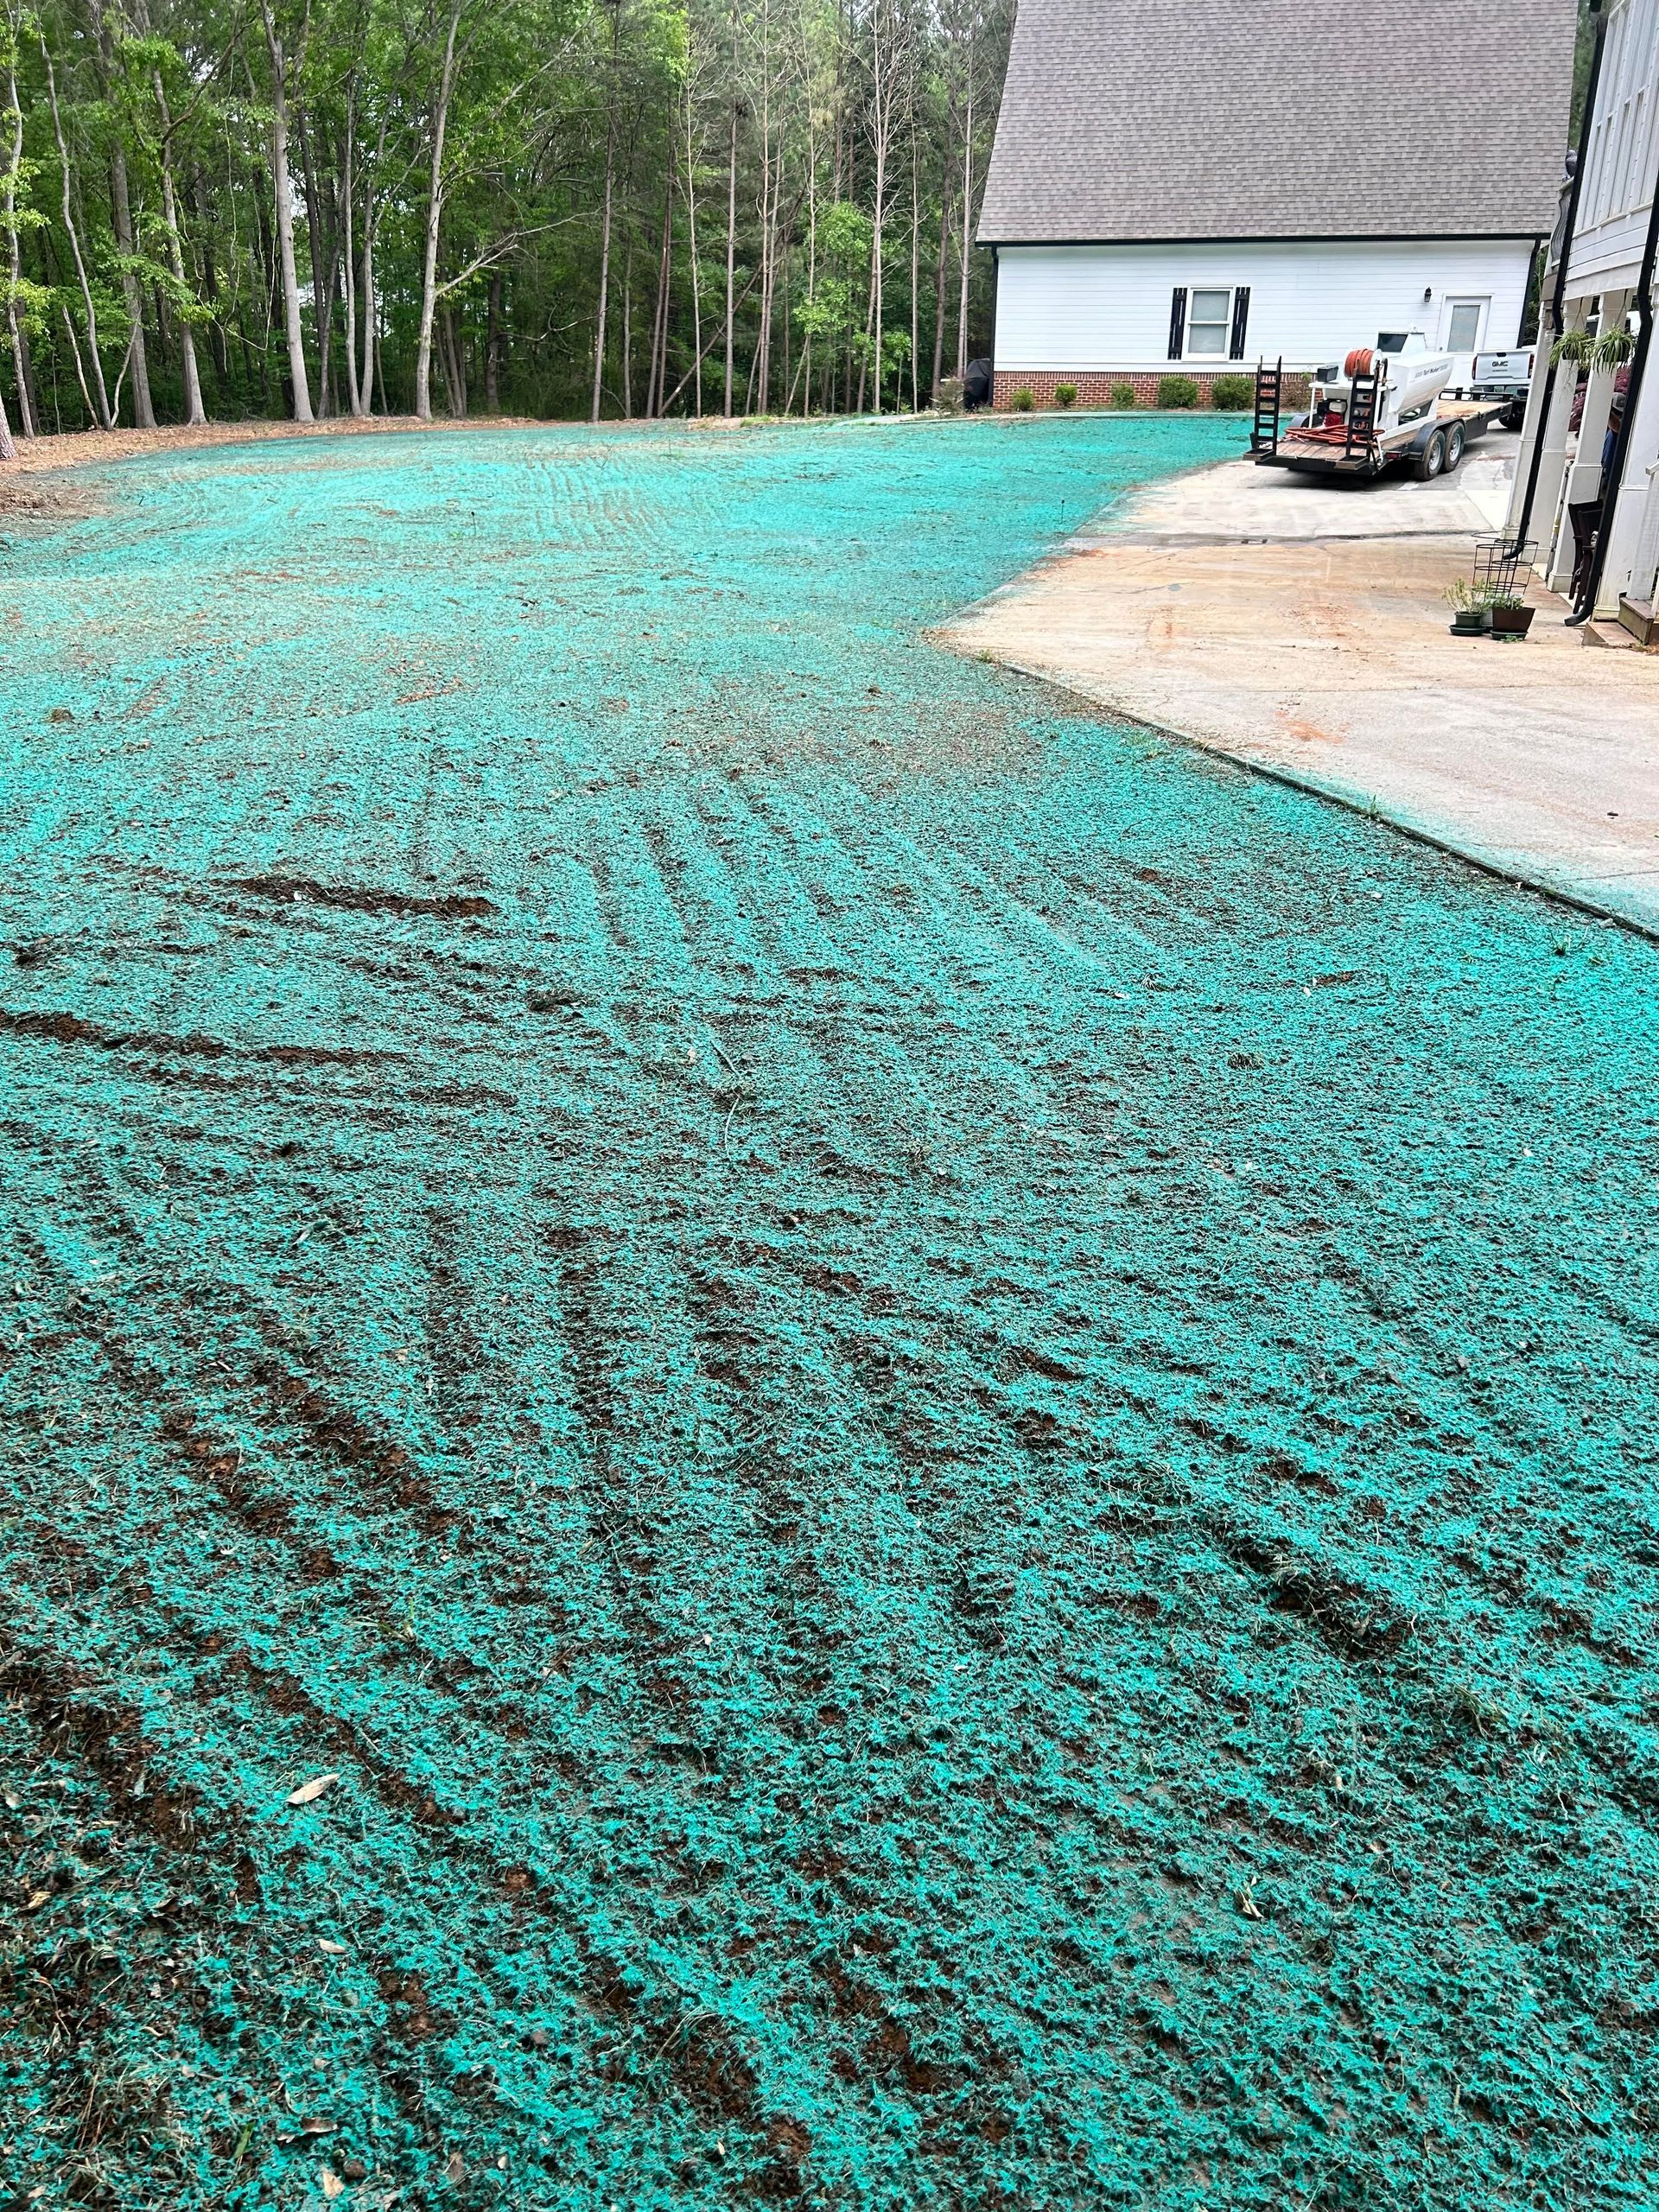
- Immediate Results: Unlike seeding, which requires time for germination and growth, sod provides an instant lawn. Within hours, your yard can be transformed from barren to beautiful.
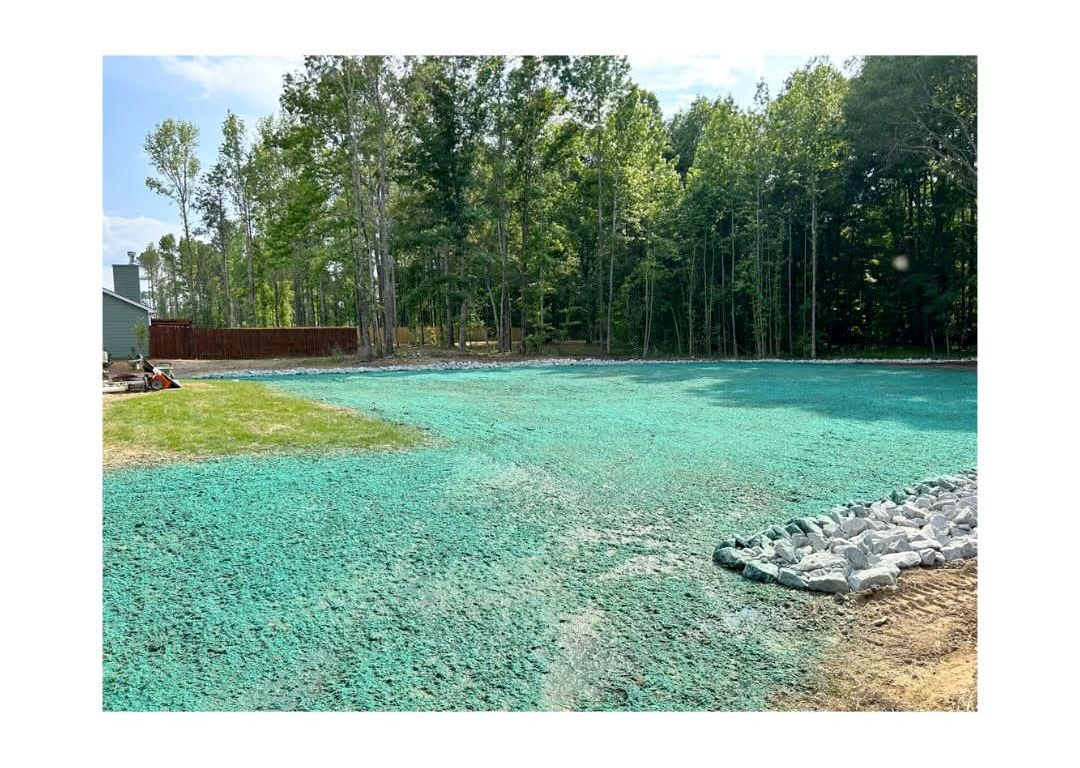
- Erosion Control: Sod helps stabilize soil immediately, reducing erosion on slopes and in areas prone to heavy rainfall. This is particularly beneficial in regions with significant runoff, preventing soil loss and promoting healthy growth.
- Weed Prevention: By covering the soil surface with mature grass, sod minimizes the opportunity for weeds to take root and spread, leading to a cleaner, more uniform lawn.
- Enhanced Cooling: A sod lawn can cool the surrounding environment, reducing temperatures and providing a more comfortable outdoor setting during warmer months.
Types of Sod
Selecting the right type of sod is important for making sure that your lawn thrives in its environment. Here are some popular options:
- Kentucky Bluegrass: Best suited for cooler climates, this sod offers a rich, dark-green color and fine texture. It's ideal for lawns that receive ample sunlight.
- Bermudagrass: Perfect for warmer climates, Bermudagrass is durable and adapts well to various soil types. It thrives in sunny areas and is commonly used for athletic fields due to its resilience.
- Zoysia: Known for its heat and drought tolerance, Zoysia grass is great for transitional climates. It provides a dense, carpet-like lawn that is resistant to heavy foot traffic.
- Fescue: This cool-season grass grows well in shaded or partially shaded areas and provides a lush, green appearance even in challenging conditions.
The Installation Process
Installing sod is a straightforward process that, when done correctly, guarantees a beautiful lawn:
- Preparation: Begin by clearing the area of debris, rocks, and old grass. Make sure that the soil is graded to eliminate any drainage issues. Amend the soil with organic matter to improve its quality and pH balance.
- Measuring and Ordering: Measure your lawn area accurately to determine the quantity of sod needed. Order slightly more than calculated to account for waste during cutting and fitting.
- Installation: Lay the sod as soon as possible after delivery. Start by laying it along the longest straight edge, such as a driveway or sidewalk. Fit the pieces tightly against each other to avoid gaps and stagger the joints like bricks to enhance stability.
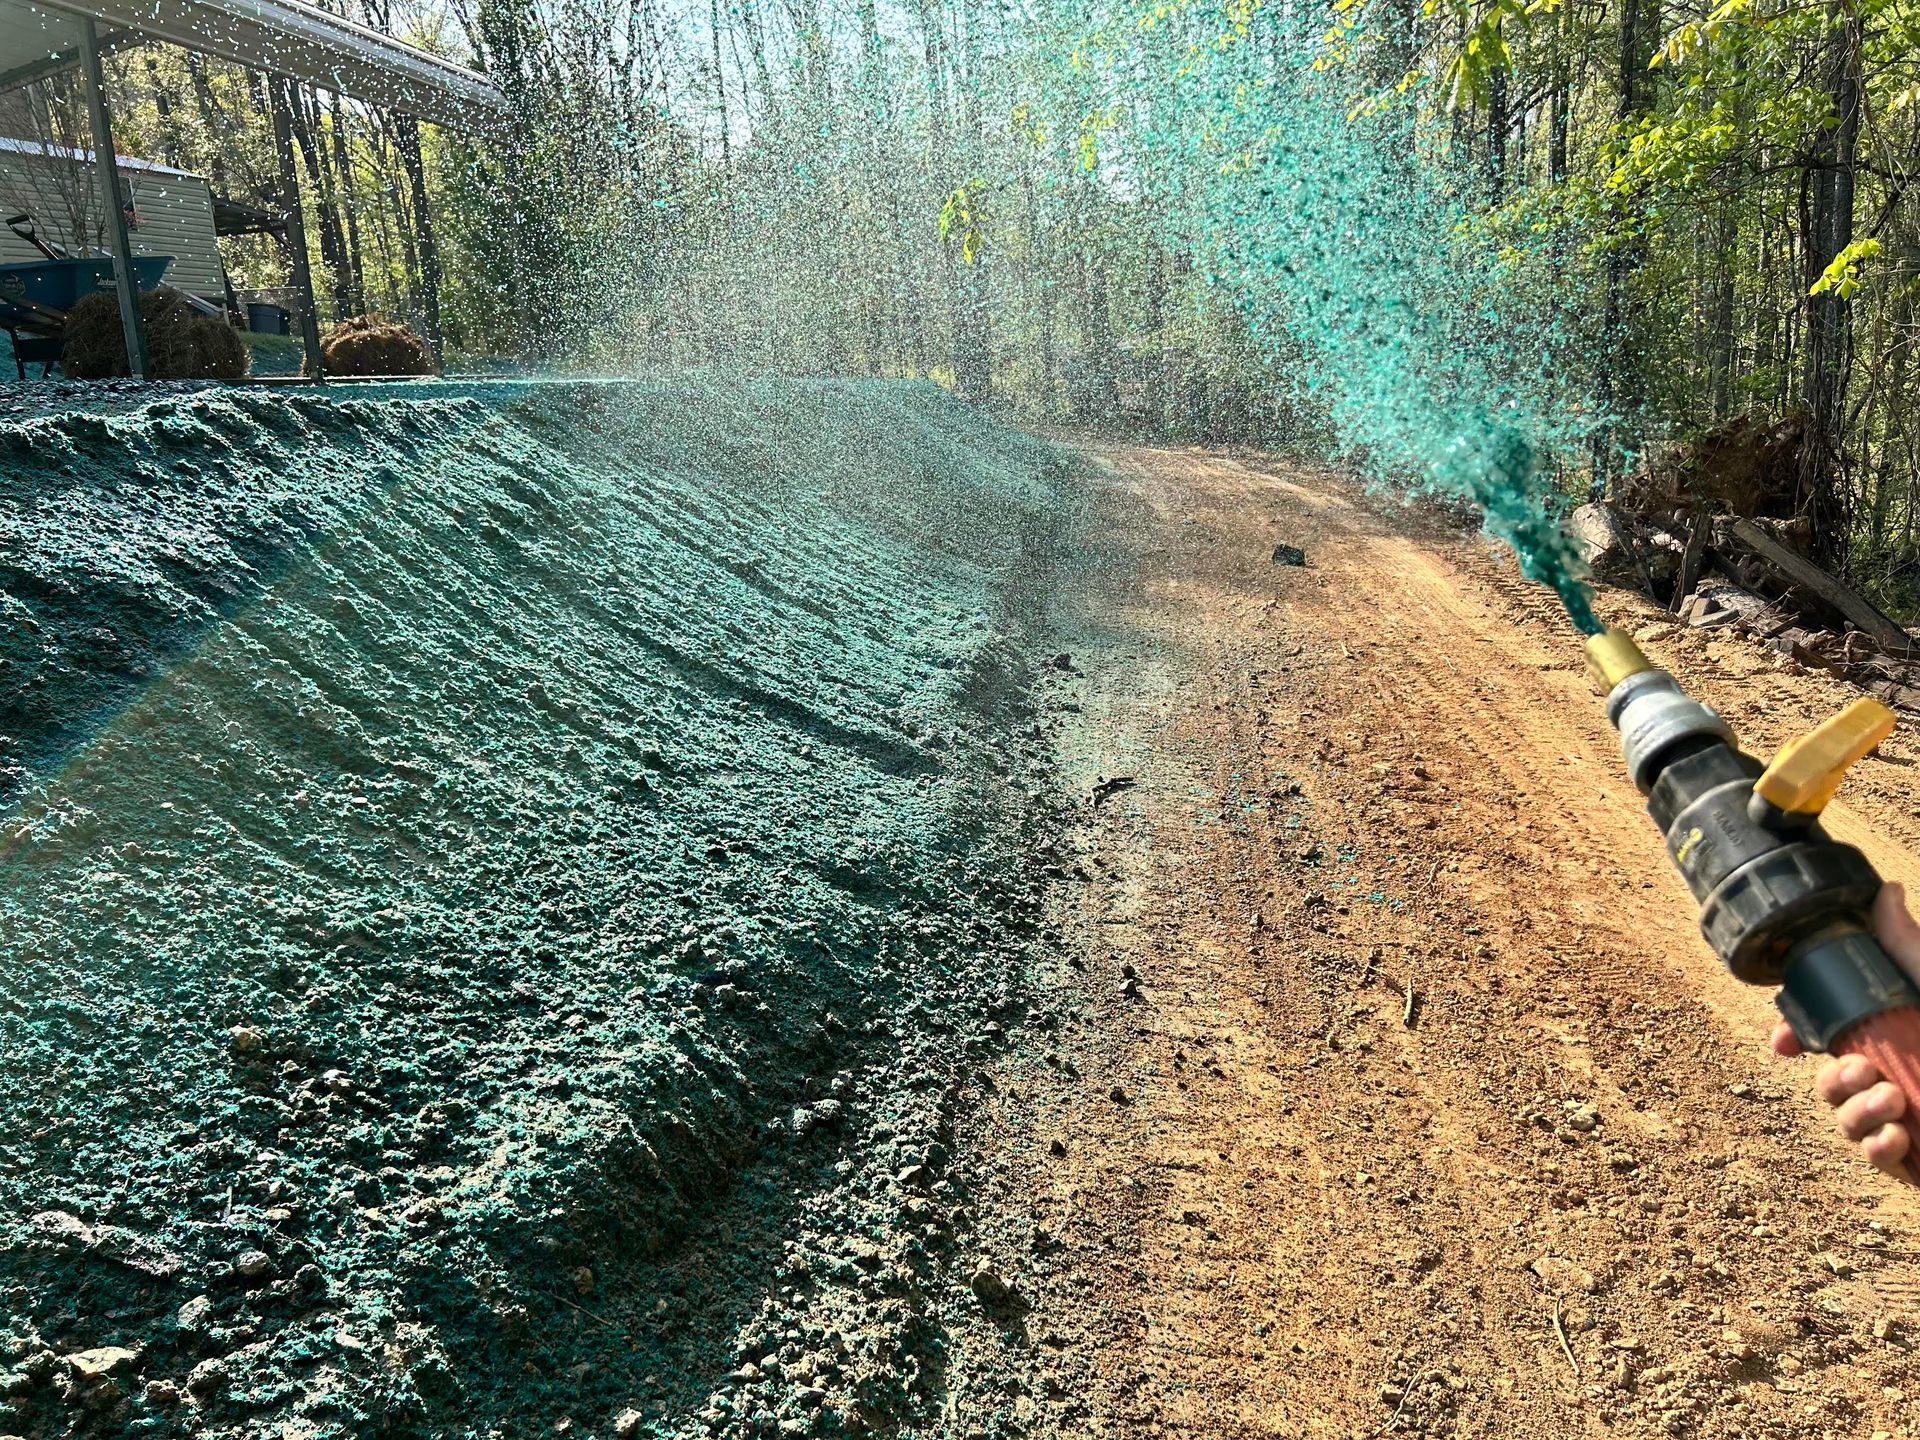
- Watering: Water the newly laid sod immediately and thoroughly. Keep it moist for the first two weeks, gradually reducing the frequency as the roots establish.
Post-Installation Care
Proper care after installation is important for making sure there is longevity and vibrancy of your sod lawn:
- Watering: After the initial establishment phase, water deeply but infrequently to encourage deep root growth. Adjust the watering schedule based on weather conditions.
- Mowing: Wait until the grass reaches a height of 3-4 inches before mowing for the first time. Set your mower to a higher setting to avoid cutting the grass too short.
- Fertilizing: Apply a balanced fertilizer a few weeks after installation to provide essential nutrients. Follow a regular fertilization schedule based on your sod type and climate conditions.
Best Times to Install Sod in North Georgia
In North Georgia, the optimal times for sod installation are during the early spring or early fall. These seasons offer moderate temperatures and consistent rainfall, which create ideal conditions for sod to establish strong roots. Spring installations benefit from the warming weather, encouraging rapid growth, while fall installations take advantage of cooler temperatures and reduced weed competition. Avoid installing sod during the peak summer heat or winter frosts, as these extremes can stress the grass and hinder root development.
Elevate Hydroseeding: Your Sod Installation Experts
At Elevate Hydroseeding, we specialize in transforming outdoor spaces into lush, green paradises with our sod installation services. Our team of professionals makes sure that every step of the process is handled with precision and care, from selecting the best type of sod for your climate to make sure that there is proper installation and aftercare. With our commitment to quality and customer satisfaction, you can trust Elevate Hydroseeding to deliver a stunning lawn that enhances your property's beauty and value. Contact us today to learn how we can elevate your outdoor space with the perfect sod solution.
By choosing sod installation, you’re investing in a beautiful, enduring lawn that can be enjoyed for many years. Whether you're hosting a summer barbecue or simply enjoying a sunny afternoon, a healthy, vibrant lawn will undoubtedly enhance your outdoor experience.
FAQ 1: How long does it take for sod to establish roots after installation?
Establishing roots typically takes about two to three weeks after sod installation. During this time, it's important to keep the sod well-watered to promote root growth. As the roots begin to integrate with the soil, you'll notice the sod becoming more secure and robust. It's important to avoid heavy foot traffic until the sod has firmly established itself to make sure that there is optimal growth and development.
FAQ 2: What kind of maintenance is required after sod installation?
Post-installation maintenance involves consistent watering, mowing, and fertilizing. Initially, water the sod daily to keep it moist, gradually reducing the frequency as the roots establish. Once the grass reaches 3-4 inches, mow it with a higher setting to prevent cutting too short. Apply a balanced fertilizer a few weeks after installation and follow a regular fertilization schedule to maintain a healthy, vibrant lawn. Regular maintenance makes sure that your sod thrives and continues to enhance your outdoor space.
Anthony
Anthony is a seasoned professional in the landscaping industry, boasting years of hands-on experience. As the founder of Elevate Hydroseeding, he has shaped the company's vision and success.
Throughout his career, Anthony has become a trusted figure in the world of landscaping. His passion for transforming outdoor spaces led him to establish Elevate Hydroseeding, a company dedicated to turning clients' landscaping dreams into breathtaking realities.